
The Complete Guide to Healthy, Long-Lasting Flowers
Healthy flowers depend on a balanced environment rather than on watering alone. Light, temperature, humidity, water, soil quality, nutrients, and airflow work together to support strong roots, foliage, stems, buds, and blooms.
Begin by identifying the flower’s species or cultivar before choosing its location or care routine. Plant labels provide useful guidance, but observing the plant and its surroundings is equally important.
1. Optimizing the Environment
A flower’s location dictates its health. Assess the environment carefully to prevent stress and disease.
- Light Assessment: Evaluate light throughout the day. A spot that appears bright in the morning may become deeply shaded later, or receive intense afternoon sun.
- Temperature and Humidity: Note temperature changes near windows, walls, radiators, and outdoor structures. Indoor heating can dry the air, while crowded, poorly ventilated areas may encourage fungal problems.
- Airflow: Good airflow helps leaves dry after watering and reduces disease risk. However, strong drafts can stress delicate flowers and accelerate wilting.
Understanding Light Requirements
Match each plant with its preferred setting and observe its response:
- Full Sun: At least six hours of direct light each day.
- Partial Shade: Four to six hours of light, often with protection from intense afternoon rays.
- Bright Indirect Light: Strong illumination filtered through a sheer curtain or reflected from a nearby surface.
- Low Light: Limited natural brightness.
Note on Acclimation: When moving flowers outdoors or into stronger sunlight, acclimate them gradually. Begin in a sheltered, partly shaded location for a few hours, then increase exposure over seven to fourteen days to prevent sunburn and leaf scorch.
2. Mastering the Watering Routine
Watering requirements differ according to plant type, container size, season, soil, and growing conditions. A reliable routine begins with observation rather than a fixed calendar.
How to Check for Water
- The Finger Test: Insert a finger several centimeters below the surface. If it feels dry, watering may be needed; if cool and damp, wait.
- Moisture Meters: Provide consistent readings, particularly in large containers.
- Visual Clues: Drooping leaves and dry, shrinking soil signal insufficient water. Yellowing leaves, soft stems, algae, or a persistently wet surface indicate excess moisture.
Proper Watering Technique
When watering is necessary, moisten the soil thoroughly until water flows from the drainage holes. This encourages moisture to reach the entire root zone. Always empty saucers after several minutes so roots do not remain submerged. Continuous saturation limits oxygen, encourages root rot, and can ultimately kill the plant. During colder months or dormancy, allow the soil to dry further between applications.
Recognizing Health vs. Stress
- Signs of Health: Firm stems, vibrant leaves, strong buds, and consistent seasonal blooming.
- Early Warning Signs: Wilting, yellow leaves, weak or stretched growth, browning edges, or dropped buds. These can result from excess water, drought, insufficient light, temperature stress, poor nutrition, pests, or inadequate airflow.
3. Soil, Drainage, and Nutrition
Potting Soil and Drainage
Suitable potting soil must balance drainage, aeration, moisture retention, and organic matter. A quality mix holds enough water for roots while releasing excess quickly and leaving air spaces around them.
- Use mixes containing compost, bark, or coco coir to improve structure.
- Avoid dense garden soil, which is usually unsuitable for containers.
- Drainage holes are essential. Decorative pots without holes should contain a removable, draining inner pot.
Feeding and Fertilizing
Feed flowering plants during active growth, following product labels and specific plant requirements.
- Balanced Fertilizer: Supports overall health.
- Bloom-Focused Formula: Provides relatively more phosphorus and potassium during flower production.
- Precautions: Dilute concentrated products accurately. Excessive fertilizer can burn roots, create damaging salt buildup, or stimulate leaves at the expense of flowers.
- Dormancy: Reduce or stop feeding during colder, low-light periods, and resume gradually when vigorous growth returns.
4. Routine Maintenance and Pest Control
Consistent upkeep prevents minor issues from becoming major problems.
General Maintenance
- Deadheading: Remove spent flowers just above a suitable leaf node to encourage new blooms.
- Pruning and Cleaning: Cut away yellow, damaged, or diseased leaves with clean tools. Wipe dust from foliage and pinch excessively long stems to promote branching.
- Staking: Support tall plants before stems bend or break.
- Timing Matters: Prune only when appropriate for the species. Some plants flower on new growth, while others form buds on older stems.
Pest and Disease Management
Inspect flowers regularly for aphids, spider mites, whiteflies, fungus gnats, powdery mildew, root rot, and fungal leaf spots.
- Immediate Action: Isolate affected plants, hand-remove visible insects, and rinse leaves with a gentle stream of water when suitable.
- Sanitation: Remove infected material promptly and discard it away from compost. Maintain good airflow, adequate spacing, and clean tools.
- Treatment: If needed, apply an appropriate horticultural treatment strictly according to label directions, including dilution ratios, protective equipment, and repeat application schedules.
5. Maximizing Cut Flower Longevity
Freshness begins before a bouquet reaches the vase. Proper handling can significantly extend the life of cut blooms.
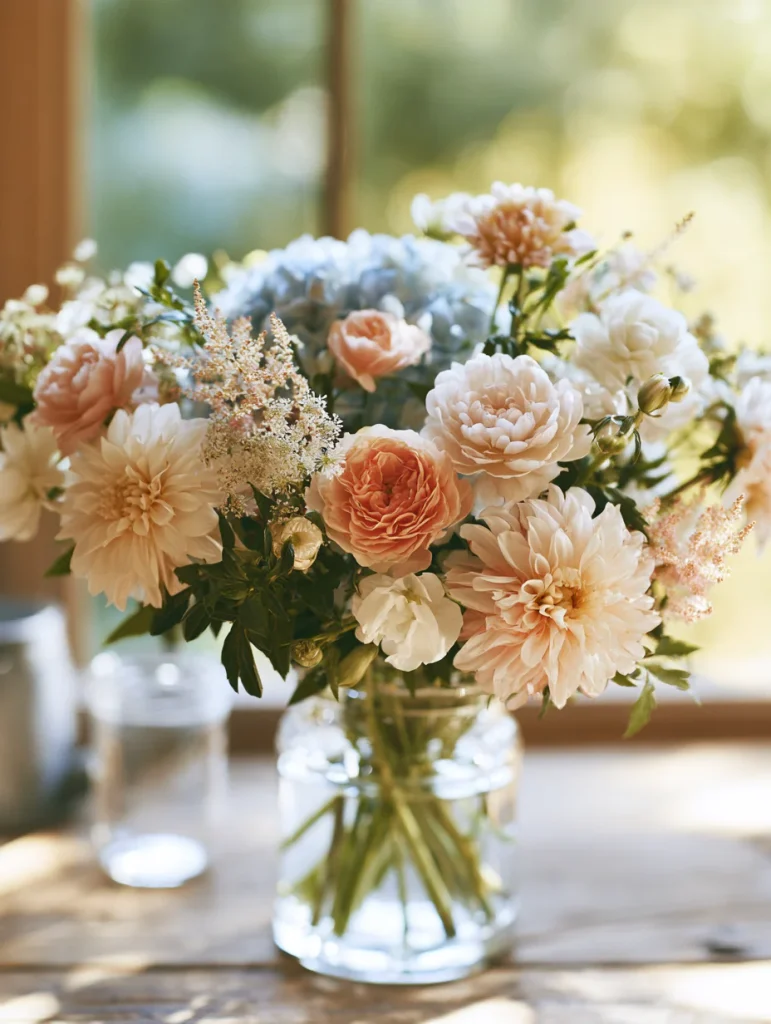
Selection and Harvesting
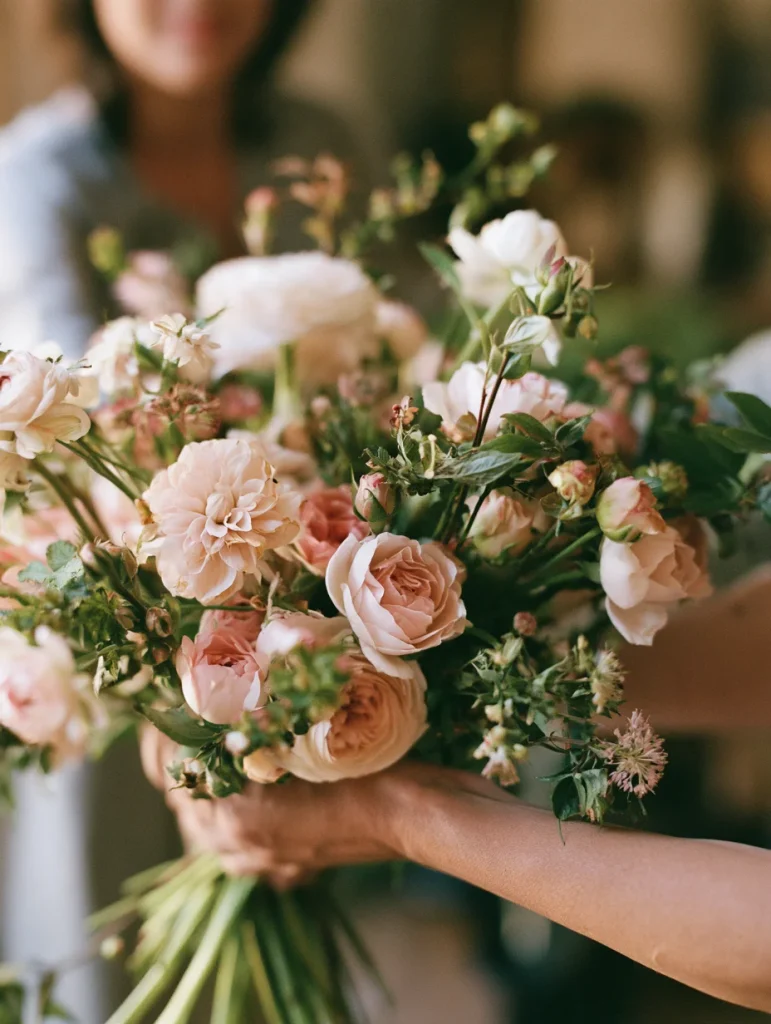
- Choose flowers with clean, healthy foliage, firm stems, and petals showing no bruising, mold, or excessive wilting.
- Partially opened buds are preferable, as they continue developing indoors.
- If gathering from a garden, cut during the cool morning hours when stems are well hydrated, and place them in water promptly.
Vase Preparation and Arrangement
- Clean the Vase: Wash with hot, soapy water and rinse thoroughly to remove bacteria and residue from previous arrangements.
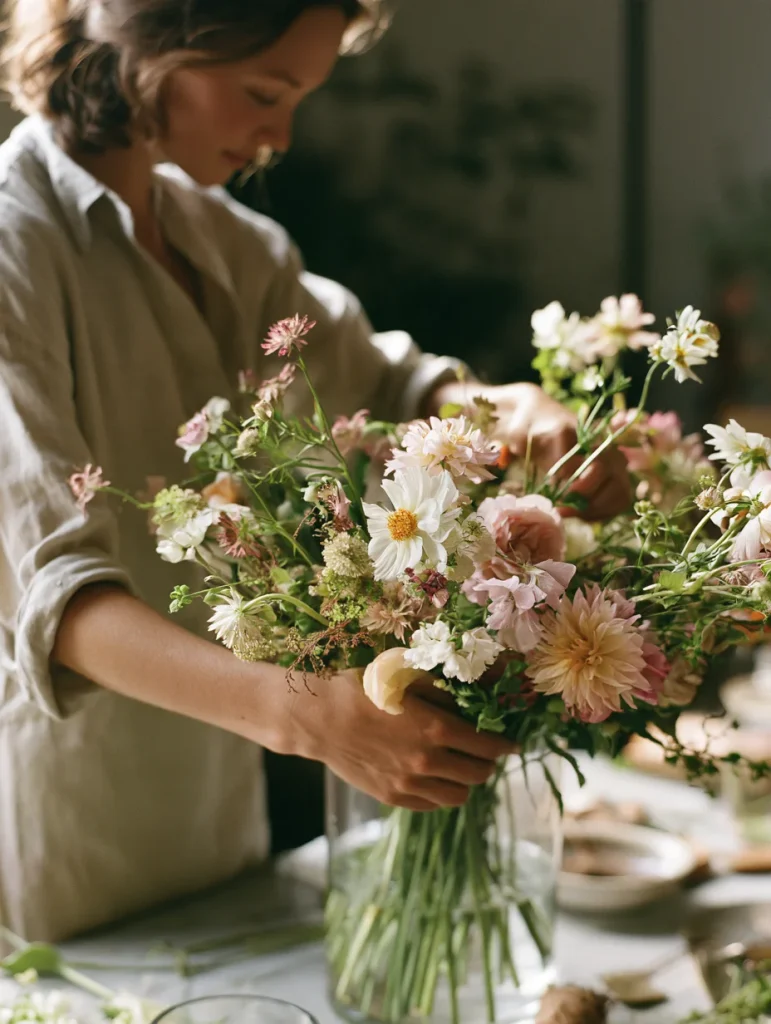
- Trim the Stems: Using a sharp, clean knife or floral snips, trim each stem at an angle. The slanted cut increases the surface area for water uptake and prevents the stem from resting flat against the vase bottom.
- Remove Submerged Foliage: Strip all leaves that would sit below the waterline, as submerged foliage decays quickly and encourages bacterial growth.
- Water Temperature: Fill the vase with fresh water. Lukewarm water generally benefits most flowers, while bulbs and cool-season stems may prefer cooler conditions.
Ongoing Care for Cut Flowers
- Flower Food: Commercial flower food supports longevity by supplying sugar, acidifying the water, and limiting microbial growth. Follow package directions. Avoid untested homemade mixtures (sugar, bleach, aspirin), as inaccurate proportions may accelerate decay.
- Maintenance Schedule: Change the water every few days, rinse the vase, and recut the stems before returning the flowers. Remove fading blooms and damaged foliage promptly.
- Environmental Hazards: Keep flowers away from direct sunlight, radiators, appliances, cold drafts, and fruit bowls. Ripening fruit releases ethylene gas, which hastens aging.
To extend seasonal blooming in gardens and containers, utilize succession planting, select varieties with staggered bloom times, and record which watering, feeding, and pruning practices produce the best results each season.
Author: https://yanivflowers.com/
